Showing posts with label vegetarian. Show all posts

Thursday, April 4, 2013

Sakura Experiment #1: Sakura (Cherry Blossom) Angel Food Cake with Strawberries

It's sakura (cherry blossom) season, so I want to attempt some Japanese/western fusion recipes using some of the sakura extract, powder, and preserved blossoms that I've found. 


Ingredients

1 1/2 cups powdered sugar
1/4 teaspoon salt
1 cup AP flour
12 egg whites 
1/3 cup warm water
1 teaspoon sakura extract
1 1/2 teaspoon cream of tartar
1/4 teaspoon red food coloring (or as much as needed -- I went a little too Barbie pink here)

Directions

Preheat oven to 170 degrees C.

In a large bowl, whisk together egg whites, water, sakura extract, and cream of tartar. After the eggs begin to stiffen, slowly sift in sugar, beating continuously. Once you have achieved medium peaks, sift enough of the flour mixture in to dust the top of the foam. Using a spatula fold in gently. Continue until all of the flour mixture is incorporated.

Carefully spoon mixture into an ungreased tube pan. Bake for 35 minutes before checking for doneness with a wooden skewer or chop stick
. When inserted halfway between the inner and outer wall, the skewer should come out dry.


Cool upside down on a wine bottle for at least an hour before removing from pan.  This keeps the cakes from collapsing as they set.


The cakes cooling on some bottles of wine that I just happened to have around my apartment...

Serve with macerated strawberries: Cut strawberries marinated with a pinch of salt, sugar to taste, and a tablespoon port, sherry, or yuzu sake (as I did here).  Let rest for at least 30 minutes.  

Garnish with powdered sugar and fresh or preserved sakura blossoms (rehydrated in water), if available. 


Based on the Good Eats Angel Food Cake recipe, because Alton Brown knows all...


Tuesday, June 14, 2011

Pumpkin Pasta

Here’s a delicious (and super easy) fall/winter recipe that I forgot to put up earlier. It’s a great way to get the flavor of pumpkin ravioli without all the extra work of filling the pasta -- Yes, even I sometimes get lazy when it comes to cooking. I used Japanese Kabocha, but any hard winter squash will work (other than spaghetti squash). If you’re feeling extra lazy, you can even made it with plain canned pumpkin, but NOT sweetened pumpkin pie filling!


***

Pumpkin Pasta (or Inside-out Pumpkin Ravioli)

Pumpkin pasta with a side of bok choy sautéed in olive oil, garlic, and chilies

Cook some pasta (I used whole wheat spaghetti) as you make the sauce. The pasta should be slightly undercooked, since it finishes cooking in the sauce (this is the traditional Italian way to cook pasta). Drain. Save 1 cup of the pasta cooking liquid to add to the sauce (this is a great habit to get into, since adding a little pasta water to sauce generally helps it stick to the pasta).

Pumpkin Sauce
1-2 tbsp. olive oil or butter
2 tbsp. plain all purpose flour
1/2 onion, finely chopped
1-4 cloves garlic, minced
1-2 cups milk (anything from skim to whole milk. If using skim or 1%, increase the amount of flour)
1 tsp. Dijon mustard
Parmesan cheese, to taste (freshly graded is better than the stuff from the green can, but use what you have)
2 cups pureed pumpkin*
Salt and pepper, to taste
Sage (chopped fresh or dried), to taste. You will need about 3 times as much if you use fresh. If you do not have sage, parsley or basil can be substituted.
Pinch of nutmeg, freshly ground if possible
Dried chopped chilies, to taste (optional)
Pumpkin seeds, roasted (optional)**

1. Heat a large saucepan over low heat. Add the oil or butter. If using butter, allow to bubble for a few minutes to allow some of its water content to evaporate. Add the onions and salt and sweat until just translucent (there should be no sizzling, so lower the heat if you hear anything). If using the dried chilies, add at this point to release their flavor. Add the garlic and flour and stir immediately using a whisk to coat the flour with the fat. Cook for a few minutes until you start to smell the flour cooking (it should smell vaguely like bread baking). Add the Dijon mustard, stirring constantly. Add about 1/4 of the milk, whisking quickly to prevent lumps. Increase the heat to medium. The mixture should thicken. Add the rest of the milk and whisk again to prevent any lumps. Add salt and pepper to taste.***

2. Add the pureed pumpkin, cheese, nutmeg, and dried sage (if using fresh, add it at the last minute before serving to have the best flavor). Cook for a couple minutes to allow the flavors to blend. Add about 1/4 cup of the pasta water (it helps the sauce stick to the pasta), and add more if the sauce looks thick. (Remember, starch thickened sauces and gravies continue to thicken after you take them off the heat, so they should always look a it thinner than you would like them served)

3. Add the cooked pasta to the sauce. Stir and allow the pasta to finish cooking in the sauce. Add more pasta water if needed, since the pasta will soak up some of the liquid in the sauce. If using fresh sage, add now. Serve the pasta garnished with some more cheese and some roasted pumpkin seeds, if desired. Enjoy!

* To puree pumpkin, either cut in half and roast in a 400 degree oven for 20-40 minutes, depending on the size of the squash; or peel, cut into rough chunks and steam for 10-20 minutes. Check on doneness by inserting a paring knife or chop stick. It should go through cleanly with little resistance without the squash completely falling apart. If roasted, scoop the flesh out using a large soup spoon. Then puree the pumpkin using a potato masher, food processor, or immersion blender.

** To roast pumpkin or squash seeds: Either toss with a little olive oil and salt and roast in a 350 degree oven for about 10-20 minutes, stirring occasionally. Or cook in a medium saucepan, covered, over very low heat with a little olive oil and salt for about 20-30 minutes, stirring occasionally. The seeds should be golden brown and cooked through when done. For added flavor, you can add your choice of dry spice towards the end of cooking. I like smoked paprika and cumin, chili powder, or garam masala. These make a great snack or healthy addition to salads.

*** Congratulations, you have just made Béchamel sauce, one of the French “Mother Sauces,” or base sauces. It is a great recipe to perfect, since it is incredibly easy and is a starting point of countless recipes, including macaroni and cheese, blue cheese sauce, or country gravy. It is also a great way to make a lower fat cream sauce or creamy soup (I use this recipe, removing the garlic and mustard and adding chopped celery and extra milk, as my base for low fat clam chowder, using 1% milk). If you are making a white sauce, like a basic cream sauce or cheese sauce using a white cheese, substitute white pepper for the black pepper (but use less, since white pepper is hotter than most black pepper)

Monday, March 14, 2011

Build a Better Bento

What is in a Japanese bento? Well, it is a boxed lunch which usually consists of cold or room temperature rice and a variety of side dishes, also served cold or room temperature. In Japanese high schools, there is no school lunch to buy and no microwave to reheat leftovers (my go-to lunch when teaching in the States), so unless I planned on surviving on instant ramen, I would have to be creative and learn to make Japanese-style bento lunches.
My kawaii Alice in Wonderland bento box

The other thing to worry about is that it needs to be filling enough (since the Japanese workday is very long and teachers can’t have snacks during the day, unless it’s a gift from a coworker, but more on omiyage later), and fit into one of the smallish and adorable Japanese bento boxes. Oh, and it should be as visually appealing and kawaii (cute) as possible. There are plenty of places online to see the crazy levels that people go to make kawaii bentos, but, since I’m not artistically talented, I won’t be making any Hello Kitty potatoes or sushi rolls that look like Stitch – sorry.

Every once in a while, I’ll post a picture of a bento that I’ve bade, as well as recipes which are great bento fillers.  They’re mostly a strange mix of Japanese and American, but they work for me.  I hope my suggestions help with my fellow ALTs who have started bringing their own lunches.
---

Today's bento: Broad bean and tomato salad, steamed broccoli, and brown rice with pickled ginger

Broad Bean and Tomato Salad
Dry broad beans
1/2 onion, unchopped
2 bay leaves
2 cloves garlic, whole
1 2-inch piece of konbu* (optional)
Cherry tomatoes, quartered and seeded**
1 tbs salt
Balsamic vinaigrette dressing (see bellow), to taste

1. Rinse and sort the beans (it’s possible, though rare, that small rocks, sticks, and other non-edibles got through the sorting machines, so always give dry beans a quick check before cooking). Cover by at least 1-2 inches of water, and leave to soak in the fridge for up to 12 hours (I usually put the beans to soak before I leave for work).
 
2. Drain and rinse the beans and transfer them to a large pot. Cover with water and add the onion, bay leaves, garlic, and konbu (if using). DO NOT add salt at this time (it will cause the beans to get very soft and burst. Good for blackbean soup or chili; bad for bean salad). Bring to a simmer. When the beans are about 15 minutes from done (but still firm in the center), add the salt to the water. It’s hard to judge the time it takes to cook dry beans, but this batch of broad beans took a long time for me (about 1 1/2 hours). Most batches of soaked beans (especially smaller ones, like kidney or black beans), cook in an hour or less. Test the doneness by eating one or cutting it in half. Do not allow the beans to overcook or become too mushy. For this salad, you want them to keep their shape.

3. When the beans are tender but not falling apart, drain them and rinse under cold water for a minute to stop the cooking process. (At this point, you can remove some of the batch to use for other recipes during the week – I’ll update later with suggestions from what I’ve made with my cooked beans)  Remove the onion, bay leaves, garlic, and konbu.

4. To make the salad, add the cooked and cooled beans to a bowl. Add the quartered and seeded tomatoes and balsamic vinaigrette (see bellow). This salad can be made a day ahead and served at room temperature.

* Quick note about konbu: Konbu is a type of dried seaweed that’s made in Hakkaido and is sold in thick sheets. There are ways to cook and eat it, but in it most frequently used as an ingredient in dashi, Japanese soup stock. It is also used as a flavoring agent in things like beans and rice, and as a way to add nutrients, like iodine and vitamin B12, to these foods. I often use it as a natural source of umami, the fifth basic taste (the savory flavor of things like meat, mushrooms, cheese, soy sauce, and tomatoes). Konbu has little taste on its own, but instead brings out the umami in other foods. In short, it just makes things taste better.
** Why seed the tomatoes? Leaving in the seeds and gel will make the salad far too watery (due to the salt in the dressing drawing out additional moisture) and will add too much acidity. You can skip this step, but the salad won’t be as good. Trust me.

I know it takes a long time to cook dry beans, but they last a while, so it's a great way to cook once on the weekend and have food ready for lunch throughout the week.  Also, simmering beans doesn't need constant babysitting, so you can do something else while you cook (Last night, I was reading the news while cooking the beans, regularly checking to make sure they didn't boil over - obviously I don't suggest taking a nap or going for a jog, but you can do other things around the house while beans cook)

---
Basic Balsamic Vinaigrette

Balsamic vinegar
Dijon mustard
Honey
Extra virgin olive oil
Water (optional)
Dry herbs (parsley, basil, chive, oregano, marjoram, etc)
Salt and pepper
(Sorry, this dressing is done to taste, especially since I like my dressing very acidic and with a lot of mustard. The good thing is once you learn the basic technique, it’s easy to personalize.)

In a medium bowl, whisk together the mustard, vinegar, honey (start with just a little, since balsamic vinegar is already sweet), salt, pepper, and herbs. If you want a lower fat dressing, add some water now (to replace some of the olive oil). Once that is very well mixed (emulsified – the mustard and honey helps the water-based vinegar mix with the oil without separating, if done correctly), begin to SLOWLY pour in the oil as you continue to whisk (it helps to put a moist tea towel under the bowl to help it from sliding around). Once you get to the desired oil-acidic level of the dressing, it’s ready.

Make enough dressing to last a week or two, since it stays well in the fridge, and is so much more delicious than chemical mystery dressings from the store.

Thursday, March 10, 2011

Dinner in Under 10 Minutes: Toasted Mochi with Citrus Stir Fry

I got home late tonight and was already starving, so my limited dinner options included instant ramen, defrosting some leftover lentil soup, or making something from scratch.  I decided to see how quickly I could make a meal, and it turns out, under 10 minutes from the time I walked into the kitchen.


So here’s my little 10-minute dinner experiment.  I hope you like it.
---
10 Minute Toasted Mochi with Citrus Stir Fry
Packaged plain mochi (glutinous rice cakes)
Asparagus, cut into pieces
Kabocha (Japanese Pumpkin), cut into pieces
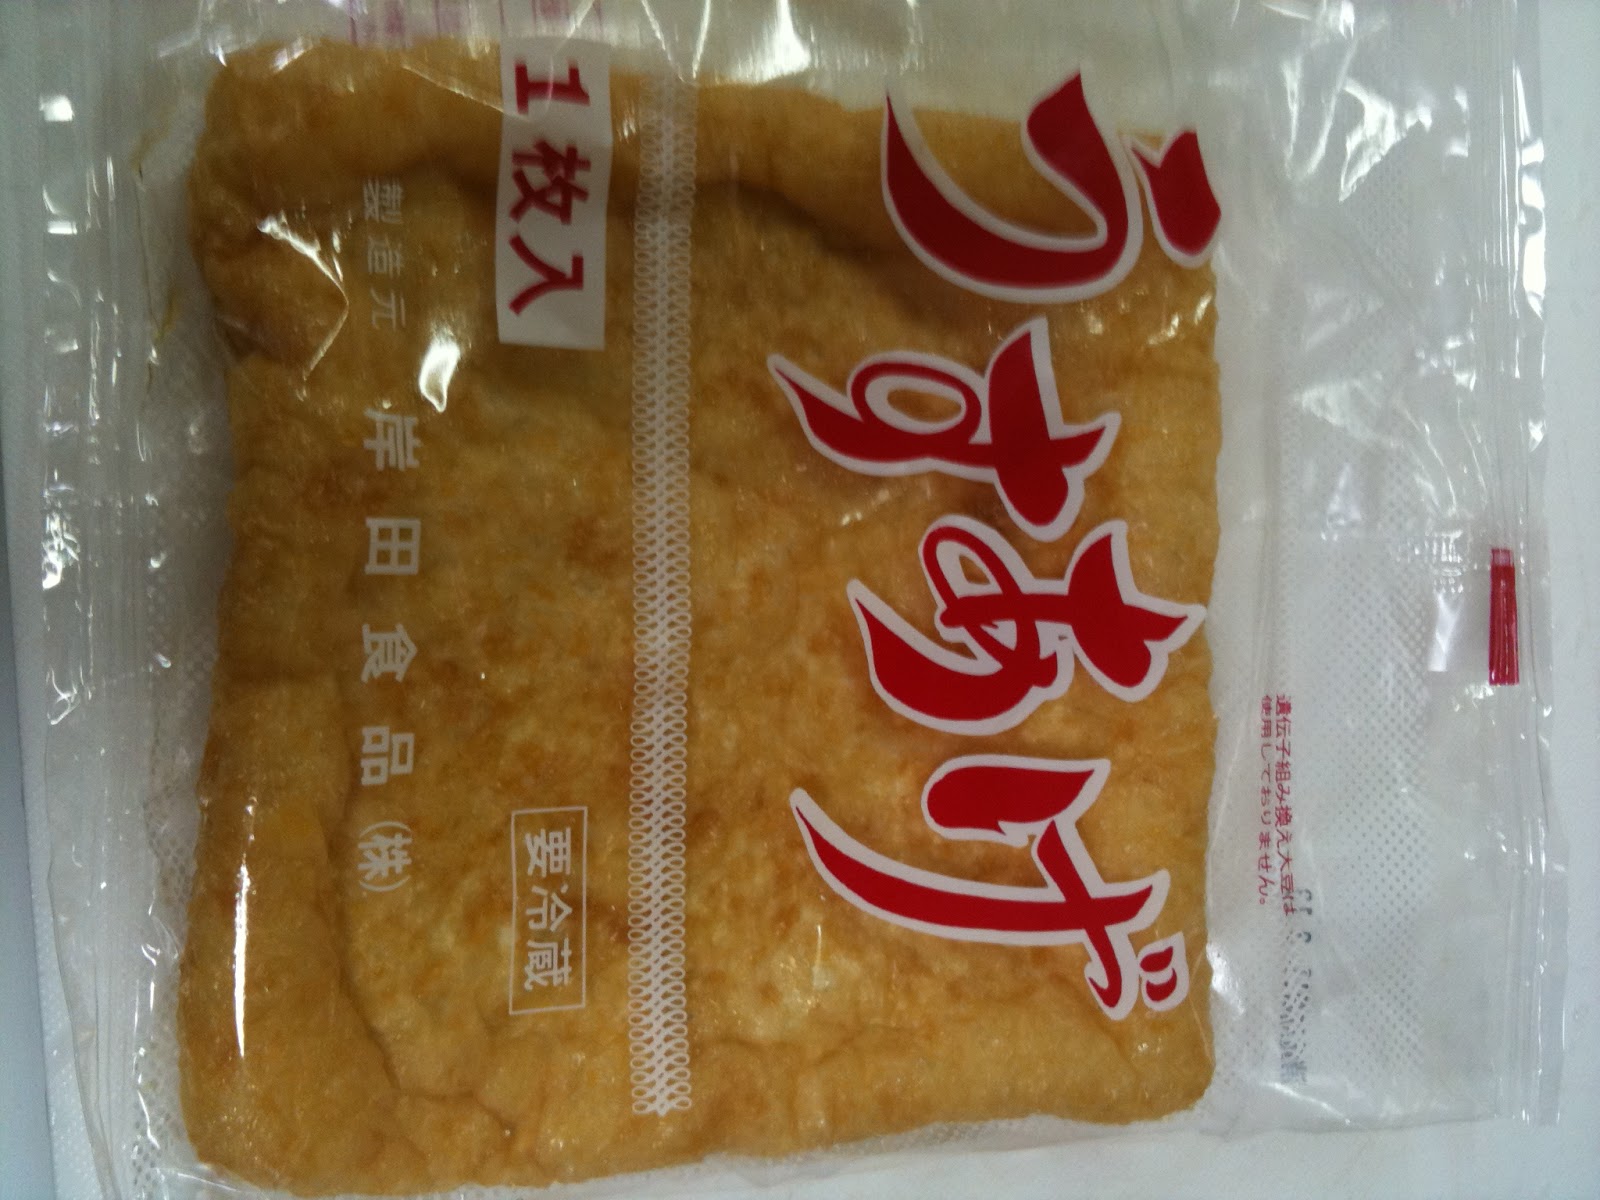
Aburaage tofu (fried sheet tofu), roughly chopped
Scallions (Green/spring onion), chopped fine
Fresh ginger, grated or chopped very fine
Dried chilies, chopped fine
Ponzu yuzu  (Japanese citrus) soy sauce
Honey
Olive oil
Fresh yuzu or lemon (optional)

 Aburaage tofu

Mochi
 
1. Begin to toast the mochi, either in a frying pan or in the toaster oven.  (Be careful, since, like bread, it goes from perfectly toasted and delicious to charcoal in just a few seconds.)  Flip when the first side is toasted.
 
 Toasting the mochi

2. Blanch the asparagus and kabocha (Boil the vegetables for 1 minute in lightly salted water.  Drain and immediately cool the vegetables by running under cold water or immersing in ice water to stop cooking.)
  
3. Heat a frying pan or walk over medium high heat (a water drop should “dance” in the heat before evaporating).  Add about ½ tsp olive oil.  Heat the chilies for about 30 seconds, then add the ginger.  (Remember, this is a stir fry, so keep the food moving over the high heat to prevent burning)  Another 30 seconds later, add the blanched vegetables, tofu, and scallions.  Cook another minute.   Add the ponzu (2-3 tbsp per person should be plenty) and honey (to taste – I only used about 1/2 tsp for just a little sweetness).  Reduce the heat to very low.
 The stir fry

4.  When the mochi is done (toasted on both sides and puffy and gooey in the center), put on a plate and pour the stir fry over the toasted mochi.  Finish with a squeeze of fresh yuzu or lemon.  Enjoy.
 10 minutes to dinner
 ---

That’s my 10 minute dinner experiment.  It sure beat McDonalds!

Weeknight Dinners 101: Fried Rice

Yes, I know -- it’s been a while. Can I still blame jetlag? Maybe culture shock? Or simple laziness, which is much more likely…
 Well, I’ve decided to update on some of my food adventures in Japan, both my own cooking and interesting Japanese foods I try.
To start, I’m going to post my basic fried rice recipe (like most of my recipes, it’s more of a guideline, since I’m all about changing the recipe to taste or for convenience). This is probably the recipe I make most often, thanks to always having a steady supply of leftover brown rice. It’s the easiest way to use up whatever vegetables you have lying around and the best way to make dinner when you’re desperate for a grocery run, or have been snowed into your apartment for three straight days. (Thank you, Fukui winter…)
[Sidenote: the best purchase since I’ve come to Japan? A good rice cooker, which I got on the cheap from a recycle shop. It’s made my life so much easier, since I don’t need to pay attention to the rice while I cook the rest of dinner, and it always supplies me with enough leftover rice to make this delicious weeknight dinner] 
---
Basic Fried Rice
2-4 cups cooked brown or white rice*
1-2 eggs
1/2 chopped onion
2 small Japanese green peppers or 1 large bell pepper
2 cloves garlic, chopped
1 inch fresh ginger, finely chopped or grated (trust me, it makes a huge difference, and ginger can stay fresh in the freezer for months and is easily grated while still frozen)
Soy sauce (low sodium is best)
Black pepper, to taste
Chopped dried chilies or cayenne pepper, to taste
Sesame oil (again, makes a huge difference, but optional)
Olive oil or vegetable oil (it’s also amazing with homemade ghee, but that’ll be another post…)


--Now here’s the place for your creativity/desperation (need to use up that last carrot or piece of tofu?)--


1 cup protein: some suggestions are chopped chicken breast, extra firm tofu, Aburaage tofu (fried tofu sheets), ham or bacon, shrimp, frozen shelled edamame. Whatever you have or like works (this is a great way to use extra cooked meats, like Thanksgiving turkey or leftover steak).
Other chopped vegetables – I usually use 2-3, depending on what’s in my fridge: 1 chopped carrot, 1/4 chopped kabocha (Japanese pumpkin), finely chopped chilies (seeded), 1 small Japanese eggplant or 1/2 large Italian eggplant, 1 cup shredded cabbage (napa works best), 1/2 head broccoli (blanched***), 1 cup chopped bok choy or spinach, frozen vegetables (peas or a mix of carrots, peas, and corn).**


1. Put a small amount of vegetable oil into a frying pan and heat to medium-high (until a drop of water “dances” before evaporating when it hits the pan). Break the eggs directly into the pan and scramble with a spatula or wooden spoon, breaking it apart as it cooks. Cook until just set, then take out the eggs and leave aside.
2. If you have a protein that needs a lot of cooking (raw chicken breast, block tofu, bacon, raw shrimp), add a little oil into the pan, heat to medium and cook thoroughly. Season with black pepper (do not use salt – there will be enough seasoning with the soy sauce later). Put aside with the eggs.
3. Add a little more oil to the pan and heat again. This time use half sesame oil and half olive oil (the sesame oil adds a lot of flavor, but burns and smokes at a low temperature, so adding the other oil helps). Cook the chopped onion until translucent (if you’re using carrots or pumpkin, add those now, too). Once they’re mostly cooked, lower the heat and add the garlic, peppers, chilies, and ginger, stirring often to prevent burning. (Garlic burns quickly and gets very bitter). Cook about 1 minute.
4. Add the additional vegetables and protein (if they weren’t cooked earlier) and cook through. This will probably take 1-2 minutes.
5. Add the leftover rice, egg, and cooked protein and heat for a minute. Then add the soy sauce to taste and stir. Cook for 1 more minute until the soy sauce is absorbed and everything is heated. Enjoy!


* The best rice for this is actually leftover cooked rice which has been cooled in the fridge uncovered. This way it thoroughly dries out and cooks into fluffy, separated grains. This is especially important for Japanese-style rice, which is medium grain and very sticky.
** Obviously this list could go on forever. Most vegetables work well, though tomatoes, potatoes, celery, and leeks are all examples of vegetables that don’t work well.
*** To blanch a vegetable, cut it into pieces, boil in salted water for about a minute, then cool immediately in ice water or under cold running water to stop the cooking process. This is allows you to stir fry hearty vegetables which take a long time to cook, and is a great way to add vegetables like broccoli, asparagus, or winter squash to a salad.


---


Fried rice is easy to personalize and a great way to experiment. Some of my favorite variations include:
* Adding chunks of fresh or canned pineapple with the vegetables (step 4)
* Using different flavored soy sauces: ponzu (yuzu Japanese citrus soy sauce), chili, and konbu (Japanese seaweed) soy sauces all work great.
* Adding curry powder (or Garam masala and tumeric) and cooking it with the onions makes a great Japanese dry curry rice


Well, I hope you like my basic fried rice. Now, you see why I always make so much rice (and how I get through those giant 5Kg bags of brown rice)